-
Design Pattern
- Singleton Design Pattern
- Factory Design Pattern
- Factory Method Design Pattern
- Abstract Factory Design Pattern
- Builder Design Pattern
- Prototype Design Pattern
- Object Pool Design Pattern
- Chain of Responsibility Design Pattern
- Command Design Pattern
- Interpreter Design Pattern
- Iterator Design Pattern
- Mediator Design Pattern
- Memento Design Pattern
- Observer Design Pattern
- Observer Design Pattern - Xử Lý Exception
- Strategy Design Pattern
- Template Method Design Pattern
- Visitor Design Pattern
- Null Object Design Pattern
- Adapter Design Pattern
- Bridge Design Pattern
- Composite Design Pattern
- Decorator Design Pattern
- Flyweight Design Pattern
- Proxy Design Pattern
- S.O.L.I.D
- Clean code
- Lập trình socket
- Java Core
- Multi-Thread
- Spring
- Java Web
- Memory Caching
- Message Queue
- DevOps
- Xây dựng một nền tảng
- MongoDB
- MySQL timestamp
- Properties vs yaml
- Kotlin
- Lập Trình Machine Learning với PyTorch
- Mã Nguồn Mở
- Ezy HTTP
- Free Chat
- Một số kinh nghiệm với Git
- Review cho đồng nghiệp!
- Kinh nghiệm phát triển dự án phức tạp, nhiều người - Tuân thủ
- Kinh nghiệm phát triển dự án phức tạp, nhiều người - Lựa chọn người đi cùng
- Ngành công nghiệp phần mềm tại Việt Nam - Mới chỉ là bắt đầu.
- Ngành công nghiệp phần mềm tại Việt Nam - Dây chuyền sản xuất.
- Ngành công nghiệp phần mềm tại Việt Nam - Thị trường
- Ngành công nghiệp phần mềm tại Việt Nam - Công ăn việc làm
- Setup Dev Environment
- Hello World
- Create a Server Project
- Handle Client Requests
- Using ezyfox-server-csharp-client
- Using ezyfox-es6-client
- Client React.js Interaction
- Build And Deploy In Local
- Tham gia phát triển open source!
- Buôn có bạn, bán có phường
- Đam mê đi đâu rồi?
- Giữa lửa đam mê!
- Tương lai nào cho tester? Thay đổi để dẫn đầu xu thế!
- Tương lai nào cho tester? - Khi thế sự đổi thay!
- Tương lai nào cho lập trình viên? Khi không có hệ quy chiếu!
- Tương lai nào cho lập trình viên - Làm đến bao nhiêu tuổi?
- Tương lai nào cho lập trình viên? Có làm giàu được không?
- Tương lai nào cho lập trình viên? Có cân bằng cuộc sống được không?
- Tương lai nào cho lập trình viên - Nhảy việc đến khi nào?
- Tương lai nào cho lập trình viên - Con đường sự nghiệp (Career path)!
- Tương lai nào cho lập trình viên - Tổng kết lại!
- Con đường sự nghiệp cho lập trình viên - Giai đoạn sơ cấp (Junior)!
- Con đường sự nghiệp cho lập trình viên - Giai đoạn trung cấp (Intermediate)!
- Con đường sự nghiệp cho lập trình viên - Giai đoạn lành nghề (Senior)!
- Giai đoạn lành nghề (Senior) - Giữa những hoang mang!
- Giai đoạn lành nghề (Senior) - Phân hoá trong doanh nghiệp!
- Con đường sự nghiệp cho lập trình viên - Trở thành chuyên gia (Expert)!
- Con đường sự nghiệp cho lập trình viên - Trở thành người ảnh hưởng (Influencer)!
- Các giai đoạn phát triển của lập trình viên - Tổng kết lại!
- Metaverse - Câu chuyện 10 nghìn CCU (Người tham gia đồng thời)
- Metaverse có khả thi ở Việt Nam?
- Lựa chọn nghề nghiệp - DevOps!
- Lựa chọn nghề nghiệp - Project Manager (PM)!
- Lựa chọn nghề nghiệp - Data Engineer!
- Lựa chọn nghề nghiệp - BackEnd Engineer!
- “Talk is cheap. Show me the code” ― Linus Torvalds
- Lựa chọn nghề nghiệp - Web Front-End Engineer!
- Lựa chọn nghề nghiệp - Mobile Engineer!
- Lựa chọn nghề nghiệp - Game Engineer!
- Lựa chọn nghề nghiệp - Product Owner!
- Tuổi trẻ cần đột phá!
- Tuổi trẻ cần sự đồng cảm!
- Tuổi trẻ - điều đáng sợ đầu tiên là gì?
- Tuổi trẻ - Điều đáng sợ thứ 2 là gì?
- Tuổi trẻ - Điều đáng sợ thứ 3 là gì?
- Tuổi trẻ - Điều đáng sợ thứ 4 là gì?
- Nếu tận dụng hết năng lực thì sẽ thế nào?
- Tuổi trẻ - Điều đáng sợ thứ 5 là gì?
- Tuổi trẻ - Điều đáng sợ thứ 6 là gì?
- Tuổi trẻ - Điều đáng sợ thứ 7 là gì?
- Tuổi trẻ - ham học hỏi là như thế nào?
- Đầu tư cho bản thân là gì?
- Học chủ động!
- Có nên quay lại công ty cũ?
- Làm cho startup (công ty nhỏ) hay làm cho công ty lớn? (Phần 1)
- Làm cho startup (công ty nhỏ) hay làm cho công ty lớn? (Phần 2)
- Làm cho startup (công ty nhỏ) hay làm cho công ty lớn? (Phần 3)
- Tự học
- Học tập tại doanh nghiệp
- Học tại trung tâm
- Cách đọc sách kỹ thuật hiệu quả
- Học trong một tổ chức mã nguồn mở.
- Câu chuyện lập trình viên - Công việc đầu tiên
- Câu chuyện lập trình viên - Mức lương đầu tiên
- Câu chuyện lập trình viên - 2018
- Định hướng là gì?
- Wordpress nguy hiểm thế nào?
- Danh sách 10 trung tâm đào tạo trình uy tín, chất lượng ở Hà Nội
Bước tiến của Spring!
Kể từ Java 1.6 trở đi, các tính năng liên quan đến annotation đã được phát triển hoàn thiện, nhưng cũng phải rất lâu các kỹ sư của Spring mới nhận ra được sức mạnh của annotation (có lẽ là khi #Struts2 ra đời), và ở thời điểm hiện tại, nếu bạn vẫn bị tra tấn bởi việc cấu hình bean qua file #xml thì hãy nghĩ cách chuyển đổi sang annotation đi nhé, bạn sẽ có thêm thời gian để tận hưởng cuộc sống tươi đẹp này.
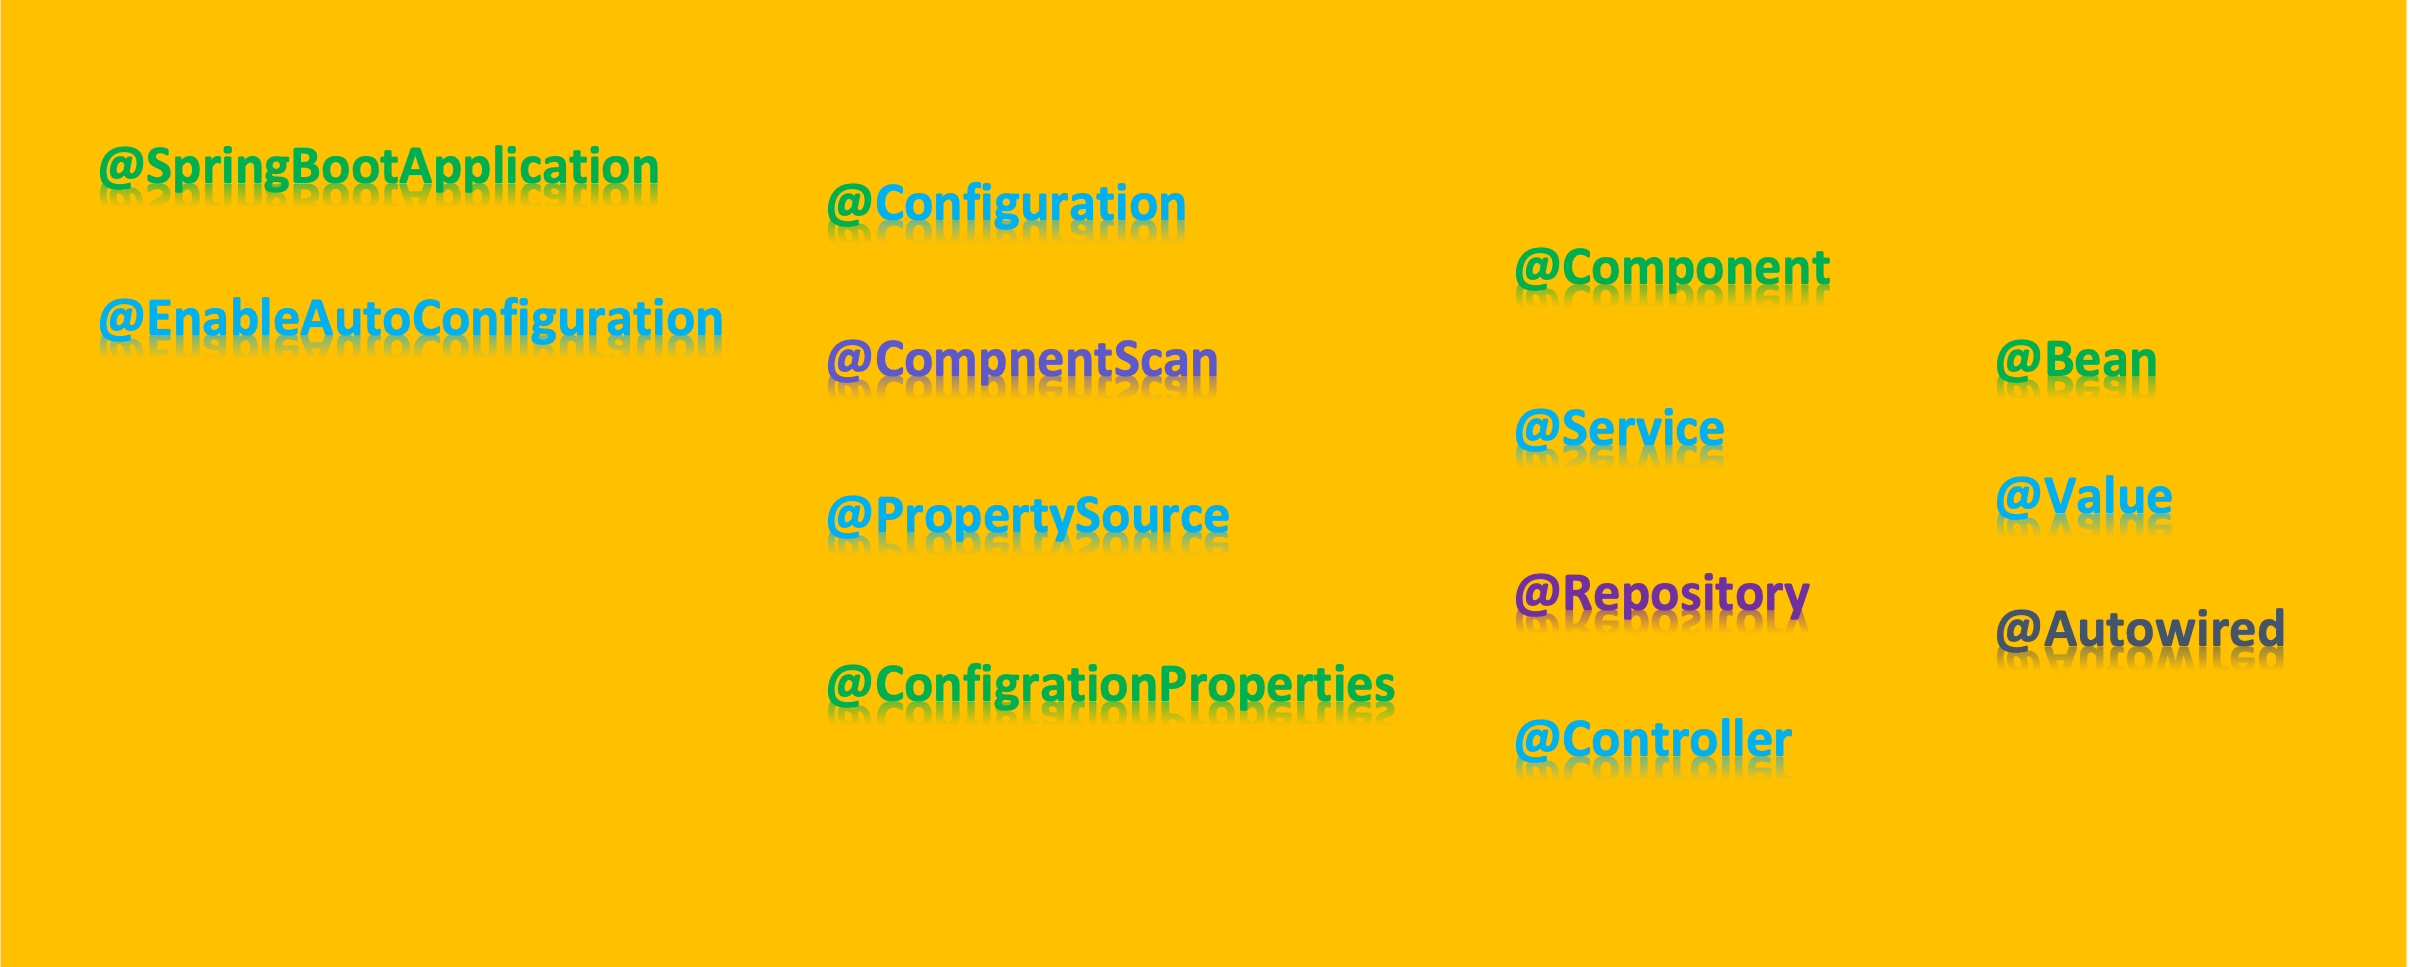
Các annotation nổi bật
Giả định rằng chúng ta có 3 gói:
- com.example.spring.boot (root package)
- com.example.spring.boot.repository
- com.example.spring.boot.service
Và 1 lớp:
public class SpringBootExampleVậy Spring có nhứng #annotation nào chúng ta cần chú ý? (spring boot bản 2.4.4 mọi người nhé)
- @SpringBootApplication: nó là annotation wrap lại các annotations: @EnableAutoConfiguration, @ComponentScan @Configuration, chúng ta thường sử dụng ở lớp có hàm main, và lớp có hàm main thường được đặt ở root package
- @EnableAutoConfiguration: Cho phép spring tìm kiếm các bean thông qua spring-boot-autoconfig mà mình đã nói ở bài trước
- @Configuration: Chỉ định lớp được annotation là lớp chuyên dành cho việc cấu hình để tạo bean
- @ComponentScan: Chỉ định các gói cơ sở hoặc các lớp cơ sở để Spring có thể scan được các bean. Ví dụ bạn chỉ định package com.example.spring.boot (hay lớp SpringBootExample) thì tất cả các package con của nó cũng sẽ được scan (hãy cẩn thận nhé, vì sẽ có lúc bạn không mong muốn vậy)
- @PropertySource: Dùng để chỉ định các file properties sẽ được đọc và đưa vào ApplicationContext
- @ConfigurationProperties: Chỉ định lớp sẽ được map với các properties có prefix, ví dụ
@ConfigurationProperties(prefix="db") - @Component: Lớp được annotation sẽ là bean, được khởi tạo và đưa vào quản lý bởi ApplicationContext
- @Service: Cũng tương tự như @Component nhưng bạn nên sử dụng với các lớp service của bạn để tránh nhầm lẫn
- @Repository: Được dùng nhiều trong spring-data, để nhận diện các lớp tương tác với database hay cache từ đó có cách khởi tạo riêng biệt để đưa vào ApplicationContext
- @Controller: Được dùng cho các lớp tầng controller, dùng để handle request của người dùng và trả lại response!
- @Bean: Chỉ định hàm sẽ được gọi bởi Spring và kết quả sẽ là 1 bean được lưu vào ApplicationContext
- @Value: Dùng để map 1 field với 1 property trong ApplicationContext
- @Autowired: Dùng để chỉ định thuộc tính hoặc phương thức sẽ được inject bean vào từ ApplicationContext, nếu bạn không muốn sử dụng @Autowired, bạn có thể sử dụng hàm tạo, spring cũng sẽ tự inject bean cho bạn.
Đây chỉ 1 một trong số các annotation của spring boot và spring core, các annotation dành cho spring-data, spring-mvc, spring-message mình sẽ nói ở những bài viết sắp tới nhé
Ví dụ
Để rõ hơn về cách sử dụng các annotation, chúng ta sẽ cùng làm ví dụ "xin chào".
Lớp chứa hàm main
Đây là lớp sẽ khởi động chương trình, ở lớp này chúng ta cần có @SpringBootApplication annotation. Chúng ta cũng có thể sử dụng các annotation @PropertySource hay @ComponentScan ở đây.
package com.example.spring.boot;
import org.springframework.boot.SpringApplication;
import org.springframework.boot.autoconfigure.SpringBootApplication;
import org.springframework.context.ApplicationContext;
import org.springframework.context.annotation.PropertySource;
import com.example.spring.boot.service.GreetService;
@SpringBootApplication
@PropertySource("classpath:application.yaml")
public class SpringBootExample {
    public static void main(String[] args) {
        ApplicationContext appContext = SpringApplication.run(SpringBootExample.class);
        GreetService greetService = appContext.getBean(GreetService.class);
        System.out.println(greetService.greet("youngmonkeys"));
    }
}
Lớp dữ liệu
package com.example.spring.boot.entity;
import lombok.AllArgsConstructor;
import lombok.Getter;
@Getter
@AllArgsConstructor
public class UserEntity {
    private String username;
    private String firstName;
    private String lastName;
}
Lớp xử lý dữ liệu
package com.example.spring.boot.processor;
import org.springframework.stereotype.Component;
@Component
public class UserProcessor {
    public String makeFullName(String firstName, String lastName) {
        return firstName + " " + lastName;
    }
}
Lớp truy vấn dữ liệu
package com.example.spring.boot.repository;
import org.springframework.stereotype.Repository;
import com.example.spring.boot.entity.UserEntity;
@Repository
public class UserRepository {
    public UserEntity findByUsername(String username) {
        return new UserEntity(username, "Young", "Monkeys");
    }
}
Lớp xử lý nghiệp vụ
package com.example.spring.boot.service;
import org.springframework.beans.factory.annotation.Autowired;
import org.springframework.beans.factory.annotation.Value;
import org.springframework.stereotype.Service;
import com.example.spring.boot.entity.UserEntity;
import com.example.spring.boot.processor.UserProcessor;
import com.example.spring.boot.repository.UserRepository;
@Service
public class GreetService {
    @Value("${greet}")
    private String greet;
    @Autowired
    private UserRepository greetRepository;
    @Autowired
    private UserProcessor userProcessor;
    public String greet(String username) {
        UserEntity user = greetRepository.findByUsername(username);
        String userFullName = userProcessor.makeFullName(user.getFirstName(), user.getLastName());
        return greet + " " + userFullName;
    }
}
Bạn có thể thấy mỗi lớp có một chức năng và nhiệm vụ riêng, và tương ứng với nó chúng ta cũng sẽ sử dụng các annotation khác nhau.
Tham khảo
-
Design Pattern
- Singleton Design Pattern
- Factory Design Pattern
- Factory Method Design Pattern
- Abstract Factory Design Pattern
- Builder Design Pattern
- Prototype Design Pattern
- Object Pool Design Pattern
- Chain of Responsibility Design Pattern
- Command Design Pattern
- Interpreter Design Pattern
- Iterator Design Pattern
- Mediator Design Pattern
- Memento Design Pattern
- Observer Design Pattern
- Observer Design Pattern - Xử Lý Exception
- Strategy Design Pattern
- Template Method Design Pattern
- Visitor Design Pattern
- Null Object Design Pattern
- Adapter Design Pattern
- Bridge Design Pattern
- Composite Design Pattern
- Decorator Design Pattern
- Flyweight Design Pattern
- Proxy Design Pattern
- S.O.L.I.D
- Clean code
- Lập trình socket
- Java Core
- Multi-Thread
- Spring
- Java Web
- Memory Caching
- Message Queue
- DevOps
- Xây dựng một nền tảng
- MongoDB
- MySQL timestamp
- Properties vs yaml
- Kotlin
- Lập Trình Machine Learning với PyTorch
- Mã Nguồn Mở
- Ezy HTTP
- Free Chat
- Một số kinh nghiệm với Git
- Review cho đồng nghiệp!
- Kinh nghiệm phát triển dự án phức tạp, nhiều người - Tuân thủ
- Kinh nghiệm phát triển dự án phức tạp, nhiều người - Lựa chọn người đi cùng
- Ngành công nghiệp phần mềm tại Việt Nam - Mới chỉ là bắt đầu.
- Ngành công nghiệp phần mềm tại Việt Nam - Dây chuyền sản xuất.
- Ngành công nghiệp phần mềm tại Việt Nam - Thị trường
- Ngành công nghiệp phần mềm tại Việt Nam - Công ăn việc làm
- Setup Dev Environment
- Hello World
- Create a Server Project
- Handle Client Requests
- Using ezyfox-server-csharp-client
- Using ezyfox-es6-client
- Client React.js Interaction
- Build And Deploy In Local
- Tham gia phát triển open source!
- Buôn có bạn, bán có phường
- Đam mê đi đâu rồi?
- Giữa lửa đam mê!
- Tương lai nào cho tester? Thay đổi để dẫn đầu xu thế!
- Tương lai nào cho tester? - Khi thế sự đổi thay!
- Tương lai nào cho lập trình viên? Khi không có hệ quy chiếu!
- Tương lai nào cho lập trình viên - Làm đến bao nhiêu tuổi?
- Tương lai nào cho lập trình viên? Có làm giàu được không?
- Tương lai nào cho lập trình viên? Có cân bằng cuộc sống được không?
- Tương lai nào cho lập trình viên - Nhảy việc đến khi nào?
- Tương lai nào cho lập trình viên - Con đường sự nghiệp (Career path)!
- Tương lai nào cho lập trình viên - Tổng kết lại!
- Con đường sự nghiệp cho lập trình viên - Giai đoạn sơ cấp (Junior)!
- Con đường sự nghiệp cho lập trình viên - Giai đoạn trung cấp (Intermediate)!
- Con đường sự nghiệp cho lập trình viên - Giai đoạn lành nghề (Senior)!
- Giai đoạn lành nghề (Senior) - Giữa những hoang mang!
- Giai đoạn lành nghề (Senior) - Phân hoá trong doanh nghiệp!
- Con đường sự nghiệp cho lập trình viên - Trở thành chuyên gia (Expert)!
- Con đường sự nghiệp cho lập trình viên - Trở thành người ảnh hưởng (Influencer)!
- Các giai đoạn phát triển của lập trình viên - Tổng kết lại!
- Metaverse - Câu chuyện 10 nghìn CCU (Người tham gia đồng thời)
- Metaverse có khả thi ở Việt Nam?
- Lựa chọn nghề nghiệp - DevOps!
- Lựa chọn nghề nghiệp - Project Manager (PM)!
- Lựa chọn nghề nghiệp - Data Engineer!
- Lựa chọn nghề nghiệp - BackEnd Engineer!
- “Talk is cheap. Show me the code” ― Linus Torvalds
- Lựa chọn nghề nghiệp - Web Front-End Engineer!
- Lựa chọn nghề nghiệp - Mobile Engineer!
- Lựa chọn nghề nghiệp - Game Engineer!
- Lựa chọn nghề nghiệp - Product Owner!
- Tuổi trẻ cần đột phá!
- Tuổi trẻ cần sự đồng cảm!
- Tuổi trẻ - điều đáng sợ đầu tiên là gì?
- Tuổi trẻ - Điều đáng sợ thứ 2 là gì?
- Tuổi trẻ - Điều đáng sợ thứ 3 là gì?
- Tuổi trẻ - Điều đáng sợ thứ 4 là gì?
- Nếu tận dụng hết năng lực thì sẽ thế nào?
- Tuổi trẻ - Điều đáng sợ thứ 5 là gì?
- Tuổi trẻ - Điều đáng sợ thứ 6 là gì?
- Tuổi trẻ - Điều đáng sợ thứ 7 là gì?
- Tuổi trẻ - ham học hỏi là như thế nào?
- Đầu tư cho bản thân là gì?
- Học chủ động!
- Có nên quay lại công ty cũ?
- Làm cho startup (công ty nhỏ) hay làm cho công ty lớn? (Phần 1)
- Làm cho startup (công ty nhỏ) hay làm cho công ty lớn? (Phần 2)
- Làm cho startup (công ty nhỏ) hay làm cho công ty lớn? (Phần 3)
- Tự học
- Học tập tại doanh nghiệp
- Học tại trung tâm
- Cách đọc sách kỹ thuật hiệu quả
- Học trong một tổ chức mã nguồn mở.
- Câu chuyện lập trình viên - Công việc đầu tiên
- Câu chuyện lập trình viên - Mức lương đầu tiên
- Câu chuyện lập trình viên - 2018
- Định hướng là gì?
- Wordpress nguy hiểm thế nào?
- Danh sách 10 trung tâm đào tạo trình uy tín, chất lượng ở Hà Nội