1. Tổng quan
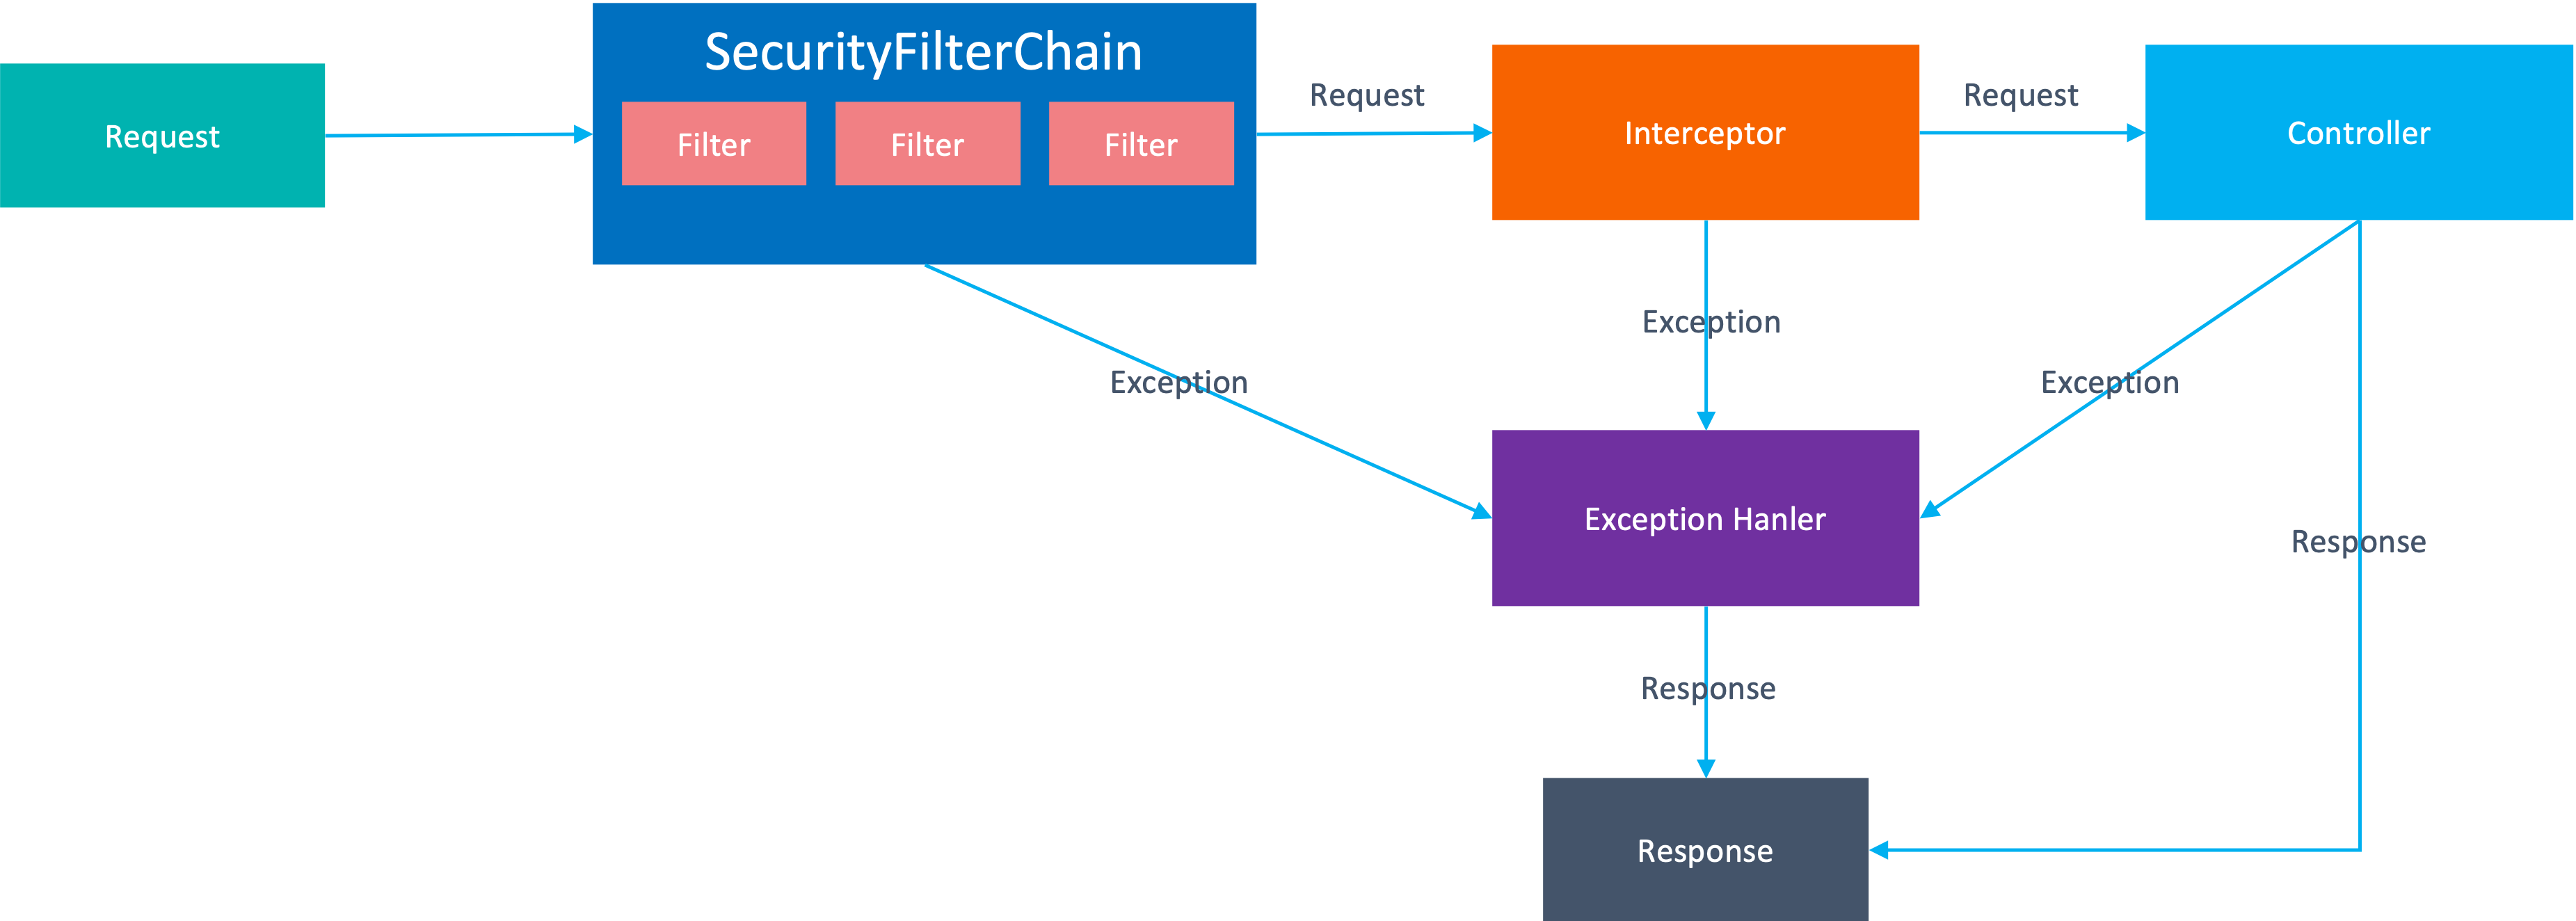
Việc đặt tên là security khiến mọi thứ trở nên nguy hiểm hẳn đi, tuy nhiên bản chất bên trong thì lại tương đối đơn giản. Thư viện này đang cố gắng wrap lại việc sử dụng filter, nó sẽ cài đặt sẵn cho chúng ta các filter, nhiệm vụ của chúng ta là cung cấp cách thức xác thực, ví dụ như:
- Sử dụng mật khẩu
- Sử dụng token
Nếu việc xác thực thành công, nó sẽ cho request đi tiếp đến tầng Interceptor, ngược lại, nếu việc xác thực không thành công, nó sẽ ném ra AuthenticationException, chúng ta có thể handle exception này hoặc để spring mặc định xử lý.
Ngoài ra thư viện này cũng cung cấp một số phương thức mã hoá password như:
- Ldap
- MD4
- MD5
- SHA-256
- Pbkdf2
- Scrypt
- Bcrypt
Trong đó thì Pbkdf2, Bcrypt và Scrypt đang được spring khuyến cáo sử dụng vì độ bảo mật cao hơn các phương thức khác.
2. Ví dụ
Để làm quen với spring securty thì chúng ta hãy làm một ví dụ đơn giản là login qua user name password, và thông tin user sẽ được lưu trên in-memory, và chúng ta sẽ có 3 trang:
- Home: không yêu cầu xác thực trước khi truy cập
- Login: Không yêu cầu xác thực trước khi truy cập
- Hello: Yêu cầu xác thực trước khi truy cập
Khởi tạo dự án
Hãy tạo một dự án maven có tên spring-security-example với các dependency thế này:
<dependencies>
    <dependency>
      <groupId>org.springframework.boot</groupId>
      <artifactId>spring-boot-starter-thymeleaf</artifactId>
      <version>${spring.boot.version}</version>
    </dependency>
    <dependency>
      <groupId>org.springframework.boot</groupId>
      <artifactId>spring-boot-starter-web</artifactId>
      <version>${spring.boot.version}</version>
    </dependency>
    <dependency>
      <groupId>org.springframework.boot</groupId>
      <artifactId>spring-boot-starter-security</artifactId>
      <version>${spring.boot.version}</version>
    </dependency>
  </dependencies>
Màn hình home
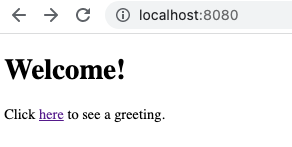
Màn hình này hiển thị thông báo hãy login để vào được màn hình hello.
<!DOCTYPE html>
<html xmlns="http://www.w3.org/1999/xhtml"
      xmlns:th="https://www.thymeleaf.org">
<head>
  <title>Spring Security Example</title>
</head>
<body>
<h1>Welcome!</h1>

<p>Click <a th:href="@{/hello}">here</a> to see a greeting.</p>
</body>
</html>
Màn hình login
Màn hình này yêu cầu người dùng nhập username và password.
<!DOCTYPE html>
<html xmlns="http://www.w3.org/1999/xhtml"
xmlns:th="https://www.thymeleaf.org">
<head>
<title>Spring Security Example </title>
</head>
<body>
<div th:if="${param.error}">
Invalid username and password.
</div>
<div th:if="${param.logout}">
You have been logged out.
</div>
<form th:action="@{/login}" method="post">
<div><label> User Name : <input type="text" name="username" value="user"/> </label></div>
<div><label> Password: <input type="password" name="password" value="password"/> </label></div>
<div><input type="submit" value="Sign In"/></div>
</form>
</body>
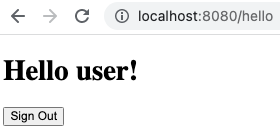
</html>Màn hình hello
Màn hình này hiển thị ra thông báo chào mừng sau khi đã login thành công.
<!DOCTYPE html>
<html xmlns="http://www.w3.org/1999/xhtml"
      xmlns:th="https://www.thymeleaf.org">
<head>
  <title>Hello World!</title>
</head>
<body>
<h1 th:inline="text">Hello [[${#httpServletRequest.remoteUser}]]!</h1>
<form th:action="@{/logout}" method="post">
  <input type="submit" value="Sign Out"/>
</form>
</body>
</html>
SecurityConfiguration
Chúng ta sẽ 1 lớp cấu hình SecurityFilterChain để quy định các uri nào cần xác thực, uri nào không, và thông tin user được lưu ở đâu. Để cho đơn giản thì trong ví dụ này chúng ta sẽ tạo sẵn 1 user với thông tin username và password là user và password và lưu nó ở in-memory.
package com.example.spring_security.config;

import org.springframework.context.annotation.Bean;
import org.springframework.context.annotation.Configuration;
import org.springframework.security.config.annotation.web.builders.HttpSecurity;
import org.springframework.security.core.userdetails.User;
import org.springframework.security.core.userdetails.UserDetails;
import org.springframework.security.core.userdetails.UserDetailsService;
import org.springframework.security.crypto.bcrypt.BCryptPasswordEncoder;
import org.springframework.security.crypto.password.PasswordEncoder;
import org.springframework.security.provisioning.InMemoryUserDetailsManager;
import org.springframework.security.web.SecurityFilterChain;

@Configuration
public class SecurityConfiguration {

    @Bean
    public PasswordEncoder passwordEncoder() {
        return new BCryptPasswordEncoder();
    }

    @Bean
    public SecurityFilterChain filterChain(
        HttpSecurity http
    ) throws Exception {
        http
            .authorizeRequests()
            .antMatchers("/", "/home").permitAll()
            .anyRequest().authenticated()
            .and()
            .formLogin()
            .loginPage("/login").permitAll()
            .and()
            .logout()
            .permitAll();
        return http.build();
    }

    @Bean
    public UserDetailsService userDetailsService(
        PasswordEncoder passwordEncoder
    ) {
        final UserDetails user =
            User.builder()
                .passwordEncoder(passwordEncoder::encode)
                .username("user")
                .password("password")
                .roles("USER")
                .build();

        return new InMemoryUserDetailsManager(user);
    }
}
MvcConfiguration
Tiếp theo chúng ta sẽ tạo các controller cho các màn hình tương ứng, và trong ví dụ này để đơn giản, chúng ta sẽ sử dụng ViewControllerRegistry và spring sẽ tự tạo các controller cho chúng ta:
package com.example.spring_security.config;

import org.springframework.context.annotation.Configuration;
import org.springframework.web.servlet.config.annotation.InterceptorRegistry;
import org.springframework.web.servlet.config.annotation.ViewControllerRegistry;
import org.springframework.web.servlet.config.annotation.WebMvcConfigurer;

import com.example.spring_security.interceptor.LogRequestInterceptor;

import lombok.AllArgsConstructor;

@Configuration
@AllArgsConstructor
public class MvcConfiguration implements WebMvcConfigurer {

    private final LogRequestInterceptor logRequestInterceptor;

    @Override
    public void addViewControllers(ViewControllerRegistry registry) {
        registry.addViewController("/home")
                .setViewName("home");
        registry.addViewController("/")
                .setViewName("home");
        registry.addViewController("/hello")
                .setViewName("hello");
        registry.addViewController("/login")
                .setViewName("login");
    }

    @Override
    public void addInterceptors(InterceptorRegistry registry) {
        registry.addInterceptor(logRequestInterceptor);
    }
}
LogRequestInterceptor
Để thuận tiện cho việc xem thông tin request / response đến và đi, chúng ta có thể tạo ra LogRequestInterceptor thế này:
package com.example.spring_security.interceptor;

import javax.servlet.http.HttpServletRequest;
import javax.servlet.http.HttpServletResponse;

import org.slf4j.Logger;
import org.slf4j.LoggerFactory;
import org.springframework.stereotype.Component;
import org.springframework.web.servlet.HandlerInterceptor;
import org.springframework.web.servlet.ModelAndView;

@Component
public class LogRequestInterceptor implements HandlerInterceptor {

    private final Logger logger = LoggerFactory.getLogger(getClass());

    @Override
    public boolean preHandle(
        HttpServletRequest request,
        HttpServletResponse response,
        Object handler
    ) throws Exception {
        logger.info("pre handle: " + request.getRequestURI());
        return true;
    }

    @Override
    public void postHandle(
        HttpServletRequest request,
        HttpServletResponse response,
        Object handler,
        ModelAndView modelAndView
    ) throws Exception {
        logger.info("post handle: " + request.getRequestURI() + " - " + response.getStatus());
    }
}
SpringSecurityExample
Và cuối cùng chúng ta sẽ cần tạo lớp khởi động với hàm main.
package com.example.spring_security;
import org.springframework.boot.SpringApplication;
import org.springframework.boot.autoconfigure.SpringBootApplication;
@SpringBootApplication
public class SpringSecurityExample {
public static void main(String[] args) {
SpringApplication.run(SpringSecurityExample.class, args);
}
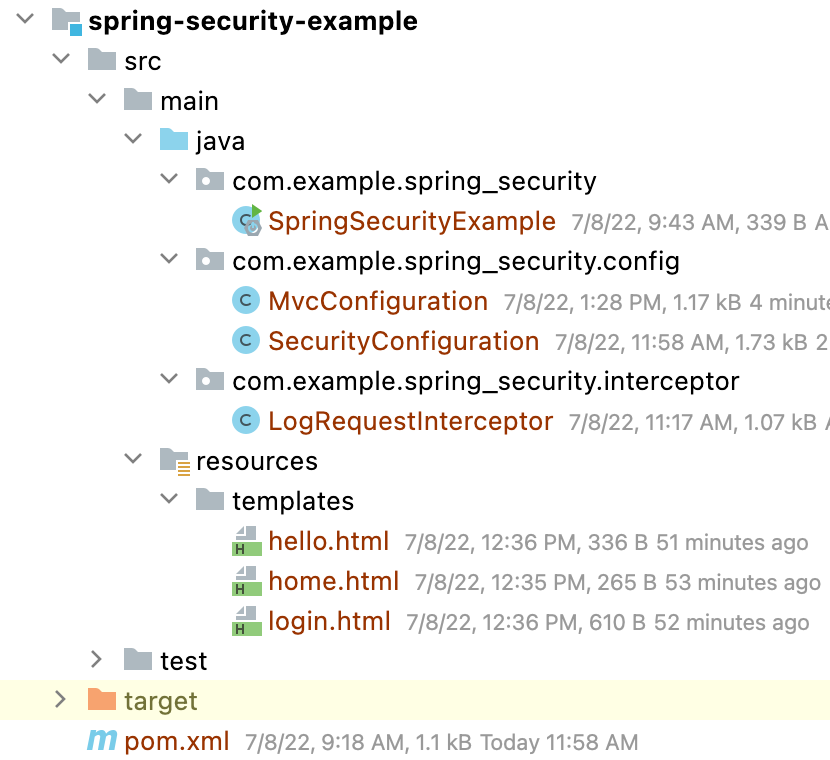
}Cấu trúc dự án
Sau khi tạo xong các file, chúng ta sẽ cấu trúc dự án kiểu thế này:
Khởi động chương trình
Chúng ta có thể khởi động chương trình bằng cách chạy lớp SpringSecurityExample, sau đó truy cập http://localhost:8080/ và chúng ta sẽ có màn hình home
Tiếp theo hãy chọn click here và chúng ta sẽ có màn hình login
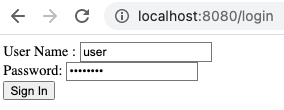
Đăng nhập với User Name là user và password là password chúng ta sẽ vào đến màn hình hello.